But FIRST, I'm also meeting up with The Teaching Tribune for their Monday Meet Me.

Thought you might not mind a little Snippet to know more about me! Be sure to click back over there to meet lots of your favorites and meet some new folks!
This isn't a NEW project, but I think it's a good one. I've never blogged about it, so I'm sharing a super easy project that would be great to use in your classroom. You've seen this picture and frames like it all over Pinterest. I loved that you could use a dry erase marker on the glass----and wipe it off! And there is only so much room we can take away from our white boards for permanent displays. With the addition of Promethian Boards, even more space is taken away.
I really loved this idea and really wanted to use this idea for either a Homework board or something else. I could never really find the frame that I liked, but I could easily find frames at the Dollar Tree. So, that is what I did! I also decided that I needed a permanent spot to display our I Can statements that we were required to to display. Here's the end product! If you display "I Can" statements in your room, you can pick up this banner as a FREEBIE in my TpT store by clicking HERE. Be sure to leave me some LOVE if you get it! :-)
This is an empty spot on my wall in view of the students, but it wasn't in a spot where I was doing my direct teaching. Here's what I did:
- Stapled some black fabric to the wall.
- Stapled some border to cover the edges.
- I created a banner on PowerPoint with my classroom colors. Holes were punched in the corners, strung with skinny ribbon, and tied pretty ribbon to the edges.
- I hung 6 prepared frames on the wall. Behind each bow are two tiny flat thumbtacks on each side of the bow. The frames stayed in place through lots of erasing all year!
It was really simple to create the frames, too. After purchasing the $1 frames, I went to Hobby Lobby and found some 12x12 scrapbook paper that also went with my classroom theme. I chose the 12x12 because it would fit in my frame no matter which direction I hung the frame.
I put together a border and title page on the computer. Printed and cut them out. Then glued it to the scrapbook paper.
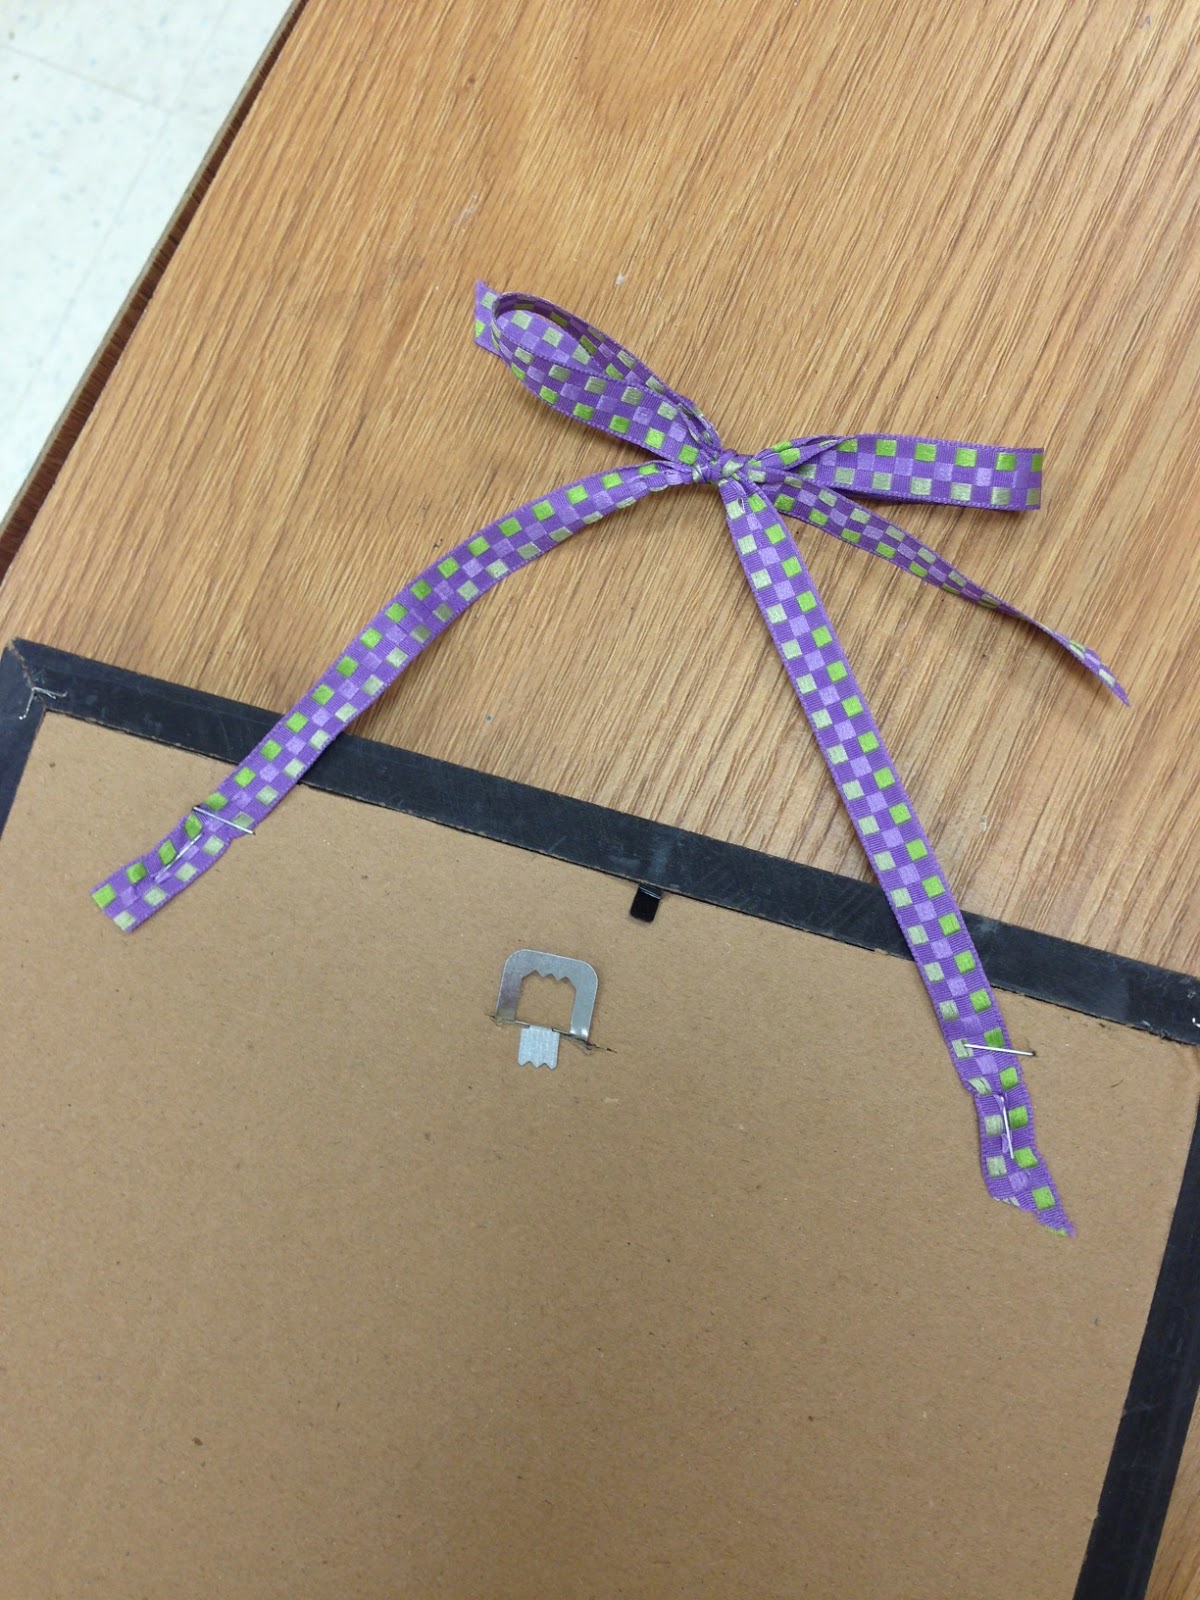
After putting the paper in the frame, I stapled two pieces of ribbon (in two different directions on each side for extra support) to the cardboard backing of the frame. Then I put the frame back together!
And there you have it! An erasable spot in your room and NOT using the space you have left on your white board. Cheap, too!! $6 for the frames, scrapbook paper on sale was about $1.50, and yard of fabric. Not bad!
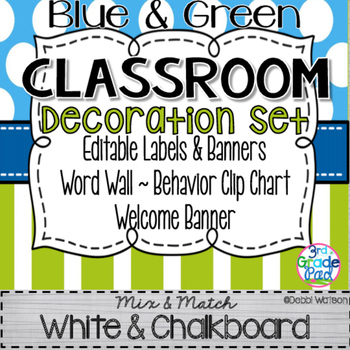
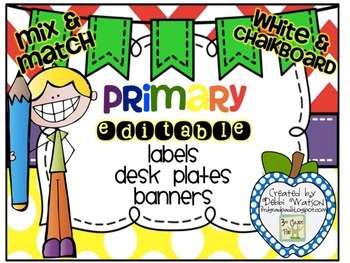
My next MMI is my very first cohesive classroom set with my classroom colors. I've put together a hodge-podge of things for my room over time but nothing like this. I've really fallen in love with the chalkboard look, but I didn't want it all over my room. Just in POPS! So, I created a set of labels in white & chalkboard to work on this summer. I made them editable so that I don't have to worry about saving or messing up my originals. I'm ready to get busy creating a new look for my classroom library this summer using these, redoing my cubby numbers (I don't do names), printing my own desk plates, making more banner titles for my bulletin boards, etc. It took me FOREVER to figure out how to do this editable without Adobe Pro, but I love the challenge in learning new things on the computer! My daughter says that I'm Cra-Cra!
My Word Wall needed to be updated, so I coordinated that with my "I Can" banner that I had already made. I use black fabric, blue fabric, and green fabric in my room for all displays. Mostly black though. It's just crisp and clean.
Funny how when you get started, you just keep rolling!! I've been using a really cute free Behavior clip chart, but it wasn't REALLY in my colors. So............ I updated that, too!!!
I did an update to one of my old calendar sets to make it cohesive with these papers, and I'm really pleased with that.
I'm trying to store all of my task cards with some sort of rhyme and reason, so I created these labels for them. The containers were only 88 cents at Walmart, too! I think I could have just kept going and going, but I decided to call it quits!
Let's face it, ladies. Our hubbies would never let us have a Frog, Wild West, Sports (well.....maybe) themed room in our homes, right? This is the one room where WE'RE the BOSS!! If these are your colors, check out this set in my TpT store by clicking HERE. I hope that you'll "FOLLOW ME" on TpT to see other Freebies and new stuff I put together!
I'm headed to south Georgia to go to the beach this week! Fingers crossed for good weather!! Of course, a bad day at the beach is STILL better than good weather at home!
Have a great week y'all!


.JPG)





Sorry you have to go back so soon. I totally understand about wanting to walk into your classroom! We do live there most of the year. You have done a great job of getting everything coordinated and items you can reuse with ease. Great job!
ReplyDeleteI LOVE your "I Can" banner and display! Too cute!
ReplyDelete-Christa
Learnin' Books
I love your classroom colors!! Blue and green make a great color scheme and your decor set looks like it matches perfectly! Thanks for sharing!
ReplyDeleteJamie
Your I can display as great! Your classroom colors are awesome too!
ReplyDeleteBrandi
Swinging for Success
Follow me on Facebook!
I love all of your fun colors! Your "I can" board looks awesome!
ReplyDeleteMary
Fit to be Fourth
What size are the frames?
ReplyDeleteWhat size are the frames?
ReplyDelete